How to Create Effective Email Flows
Email flows are automated sequences of emails triggered by specific user actions or events. Mastering the creation of effective email flows is crucial for nurturing leads, onboarding new customers, and driving sales. This article will guide you through the process of designing and implementing email flows that achieve your marketing goals, focusing on segmentation, personalization, and optimization. We’ll explore practical examples and best practices to help you create email flows that convert.
Understanding Email Flow Basics

- Trigger: The event that initiates the email flow (e.g., subscribing to a newsletter, abandoning a shopping cart, making a purchase).
- Email(s): The individual emails within the sequence, each designed to achieve a specific goal.
- Delay: The time interval between emails in the flow (e.g., one day, one week, one month).
- Conditions/Segmentation: Rules that determine which subscribers enter the flow and which emails they receive based on their behavior, demographics, or other attributes.
- Goal: The desired outcome of the email flow (e.g., completing a purchase, upgrading to a premium plan, attending a webinar).
Example 1: Welcome Email Flow for New Subscribers
This flow is triggered when someone subscribes to your email list.- Trigger: New subscriber joins email list.
- Email 1 (Immediate): Welcome email with a thank you, introduction to your brand, and a special offer (e.g., 10% off their first purchase).
- Delay: 3 days
- Email 2: Highlight your most popular content or products. Include customer testimonials or social proof.
- Delay: 5 days
- Email 3: Share a valuable resource (e.g., a free e-book, a checklist, a webinar).
Example 2: Abandoned Cart Email Flow
This flow is triggered when a customer adds items to their cart but doesn’t complete the purchase.- Trigger: Customer abandons shopping cart.
- Email 1 (1 hour after abandonment): Gentle reminder email with a direct link to their cart and a picture of the items they left behind.
- Delay: 24 hours
- Email 2: Offer a small discount or free shipping to incentivize them to complete the purchase.
- Delay: 48 hours
- Email 3: Create a sense of urgency by mentioning that the items are selling fast or that the discount is expiring soon.
Example 3: Post-Purchase Email Flow
This flow is triggered after a customer makes a purchase.- Trigger: Customer completes a purchase.
- Email 1 (Immediate): Order confirmation email with details about their purchase and shipping information.
- Delay: 3 days
- Email 2: Ask for feedback on their purchase experience and encourage them to leave a review.
- Delay: 7 days
- Email 3: Offer related products or services based on their previous purchase.
Segmentation and Personalization Strategies

Segmentation Techniques
- Demographic Segmentation: Segmenting based on age, gender, location, income, education, etc.
- Behavioral Segmentation: Segmenting based on website activity, email engagement, purchase history, etc.
- Psychographic Segmentation: Segmenting based on interests, values, lifestyle, etc.
- Lifecycle Stage Segmentation: Segmenting based on where the subscriber is in the customer journey (e.g., new subscriber, lead, customer, loyal customer).
Personalization Techniques
- Personalized Subject Lines: Use the subscriber’s name or reference a previous purchase in the subject line.
- Dynamic Content: Display different content blocks based on the subscriber’s attributes.
- Product Recommendations: Recommend products based on their browsing history or purchase history.
- Personalized Offers: Offer discounts or promotions tailored to their individual needs.
- Personalized Timing: Send emails at the time of day when they’re most likely to be engaged.
| Feature | Segmentation | Personalization |
|---|---|---|
| Definition | Dividing your audience into smaller groups | Tailoring content to individual subscribers |
| Focus | Group characteristics | Individual preferences |
| Example | Sending different emails to customers based on their location | Using a subscriber’s name in the subject line |
| Benefit | More targeted and relevant messaging | Increased engagement and conversion rates |
{% if subscriber.product_interest == "electronics" %}
  <p>Check out our latest deals on headphones and smartwatches!</p>
{% elif subscriber.product_interest == "clothing" %}
  <p>Browse our new arrivals in our fall collection!</p>
{% else %}
  <p>Explore our wide range of products and find something you'll love!</p>
{% endif %}
<h3>Based on your recent purchase, you might also like:</h3>
<ul>
  <li>Coffee Beans - [link to coffee beans]</li>
  <li>Coffee Filters - [link to coffee filters]</li>
  <li>Mugs - [link to mugs]</li>
</ul>
Designing and Building Email Flows
Now that you understand the basics of email flows and the importance of segmentation and personalization, let’s dive into the process of designing and building your own email flows. This involves mapping out the flow, writing compelling email copy, and configuring the flow in your email marketing platform.Step 1: Define Your Goal
Before you start building your email flow, it’s important to define your goal. What do you want to achieve with this flow? Are you trying to generate leads, onboard new customers, or drive sales? Your goal will determine the overall structure of your flow and the content of your emails. For example, if your goal is to generate leads, your flow might include emails that offer valuable resources in exchange for contact information.Step 2: Map Out Your Flow
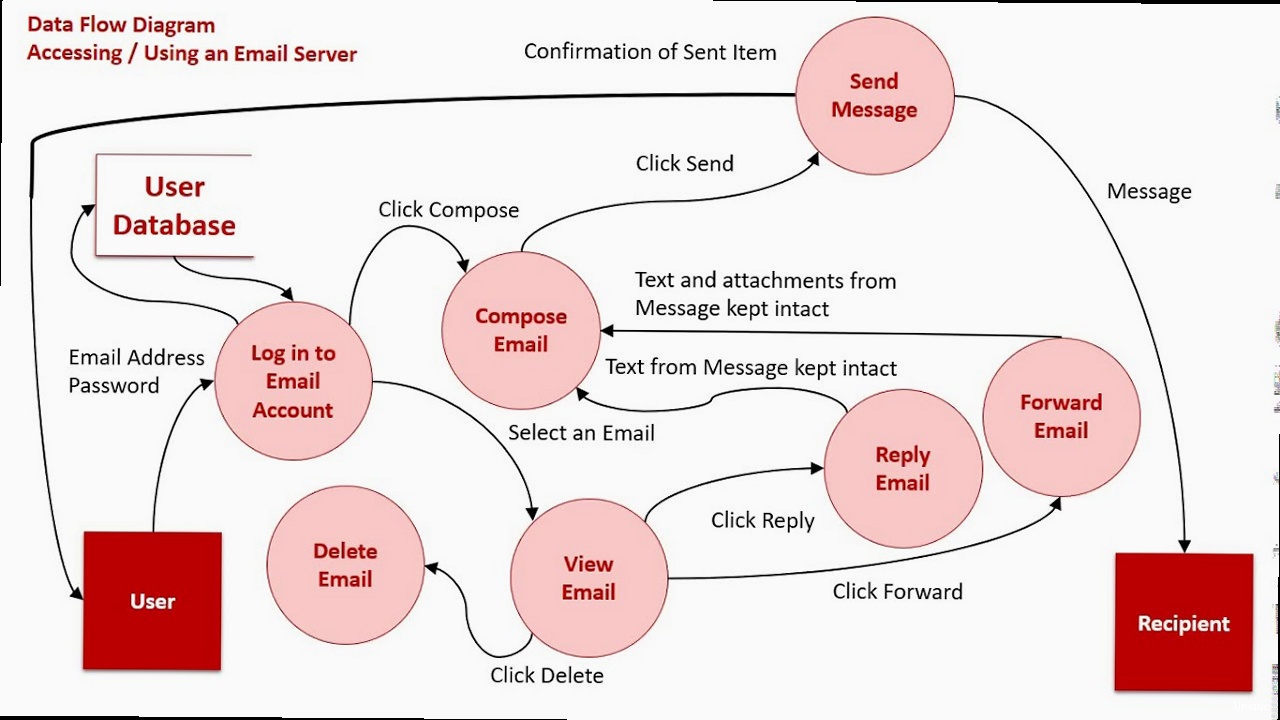
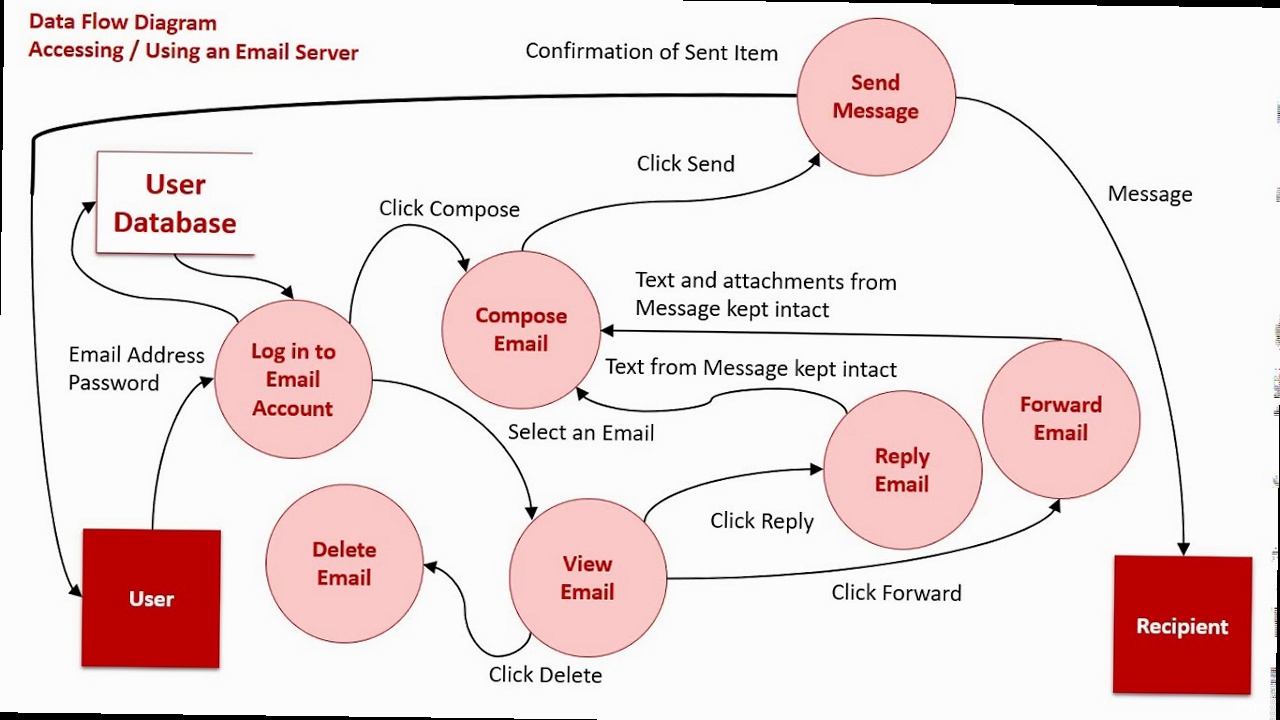
Once you’ve defined your goal, map out your email flow. This involves identifying the trigger, the emails in the sequence, the delays between emails, and any conditions or segmentation rules. You can use a flowchart or a simple spreadsheet to visualize your flow. This will help you stay organized and ensure that your flow is logical and effective.Step 3: Write Compelling Email Copy
The content of your emails is crucial for the success of your email flow. Your emails should be well-written, engaging, and relevant to your subscribers. Use a clear and concise writing style. Focus on the benefits of your products or services, and include strong call-to-actions that guide subscribers towards the desired outcome. Example: Instead of saying “Learn more about our product,” say “Get Started Today and Transform Your Business.”Step 4: Configure Your Email Flow in Your Email Marketing Platform
The final step is to configure your email flow in your email marketing platform. This involves setting up the trigger, adding the emails to the sequence, configuring the delays, and setting up any conditions or segmentation rules. Each email marketing platform has its own specific interface and features, so refer to the platform’s documentation for detailed instructions. Example 1: Setting up a “New Subscriber” trigger in Mailchimp- Go to the “Automations” section in your Mailchimp account.
- Click “Create Automation”.
- Choose the “Welcome new subscribers” automation.
- Select the list you want to use for the automation.
- Customize the emails in the automation sequence.
- Open the flow you want to edit in your Klaviyo account.
- Click on the email where you want to add a delay.
- In the left sidebar, click “Add Time Delay”.
- Specify the amount of time you want to delay the email.
- Click “Save”.
Testing and Optimizing Email Flows
Creating an email flow is just the first step. To ensure that your flows are effective, you need to continuously test and optimize them. This involves monitoring key metrics, identifying areas for improvement, and making adjustments to your flow.Key Metrics to Monitor
- Open Rate: The percentage of subscribers who opened your email.
- Click-Through Rate (CTR): The percentage of subscribers who clicked on a link in your email.
- Conversion Rate: The percentage of subscribers who completed the desired action (e.g., making a purchase, filling out a form).
- Unsubscribe Rate: The percentage of subscribers who unsubscribed from your email list.
- Bounce Rate: The percentage of emails that could not be delivered.
A/B Testing
A/B testing is a powerful technique for optimizing your email flows. It involves creating two versions of an email (A and B) and sending them to a portion of your subscribers. You then compare the performance of the two versions to see which one performs better. You can A/B test various elements of your email, such as the subject line, the body copy, the call-to-action, or the images. Example 1: A/B Testing Subject Lines- Subject Line A: Get 20% Off Your First Order
- Subject Line B: Welcome to Our Community! Claim Your 20% Discount
- Call-to-Action A: Shop Now
- Call-to-Action B: Discover Our Collection
Analyzing Results and Making Adjustments
Once you’ve collected data from your A/B tests, analyze the results and make adjustments to your email flows accordingly. This might involve changing the subject lines, rewriting the body copy, or modifying the call-to-actions. Continuously test and optimize your email flows to ensure that they’re performing at their best. Example: If you find that your welcome email flow has a high unsubscribe rate, you might need to re-evaluate the content of your emails and ensure that they’re providing value to your subscribers. You might also consider offering a clearer opt-out option or segmenting your list more effectively. External Link: For more information on A/B testing, check out this article from Optimizely: https://www.optimizely.com/optimization-glossary/ab-testing/ By following these steps, you can create effective email flows that achieve your marketing goals and drive results. Remember to focus on segmentation, personalization, and continuous optimization to ensure that your emails are relevant, engaging, and valuable to your subscribers.
person
Article Monster
Email marketing expert sharing insights about cold outreach, deliverability, and sales growth strategies.