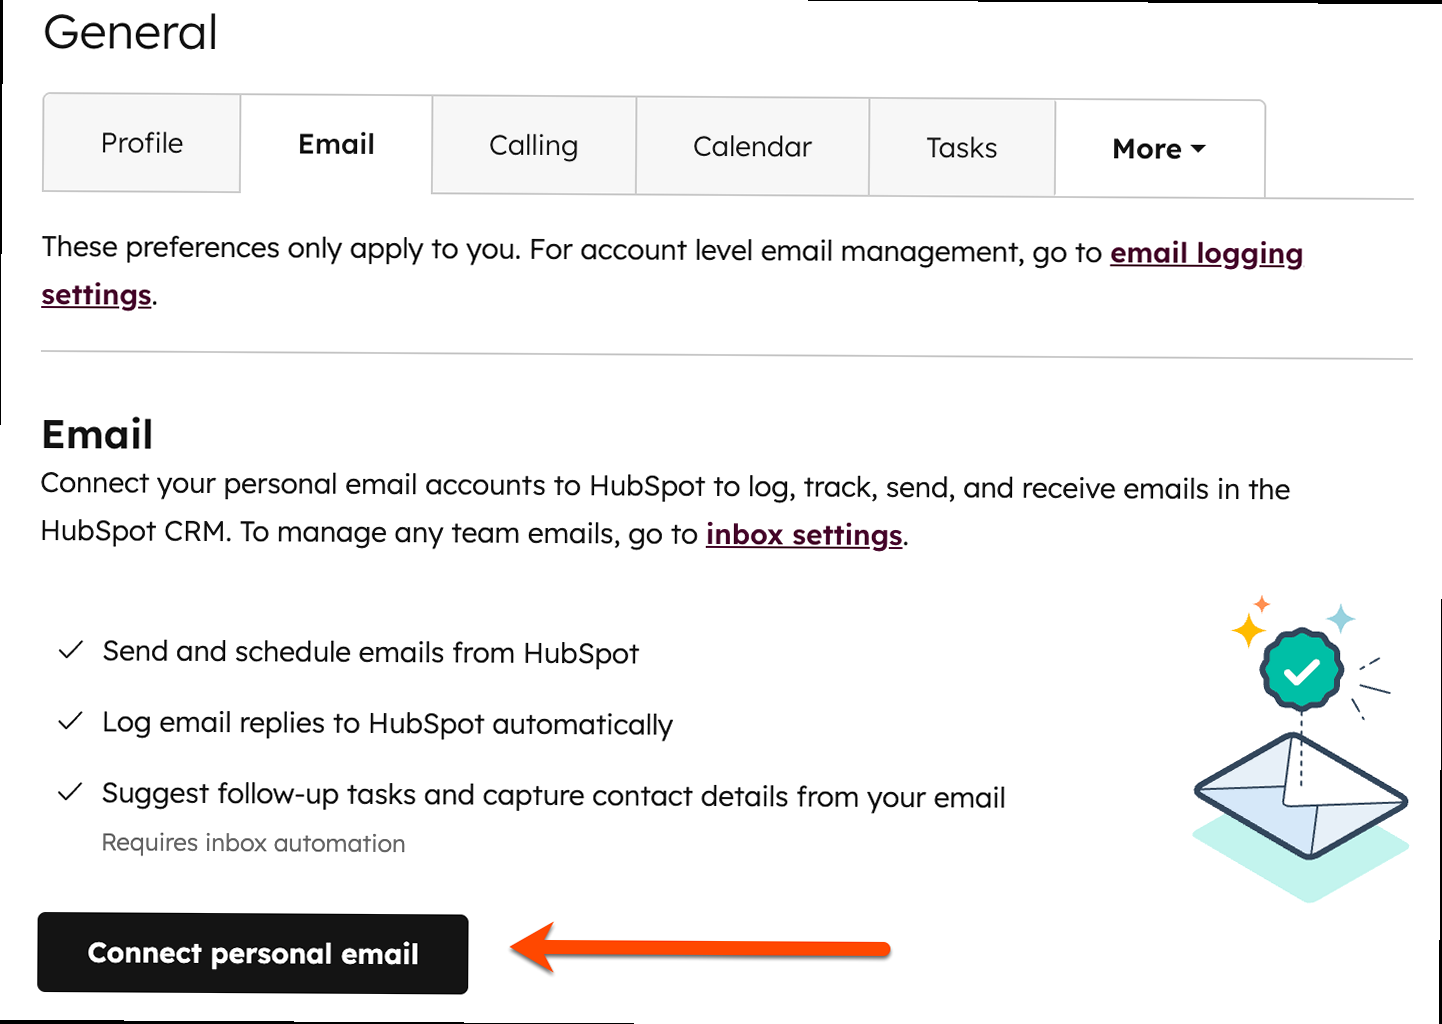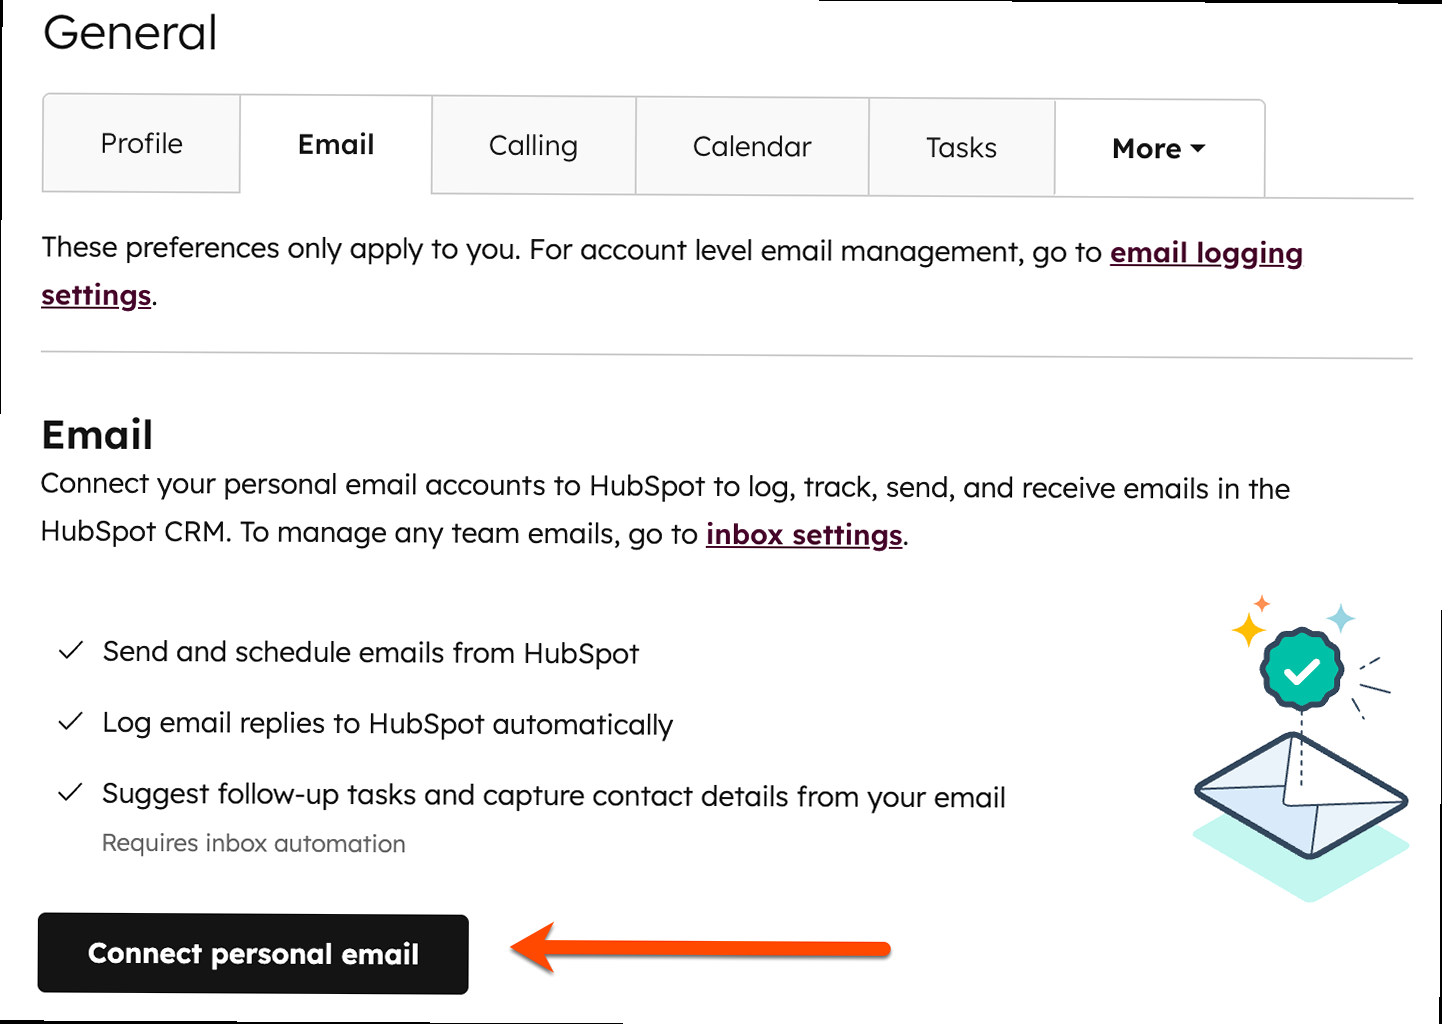
How to Connect Your Email to HubSpot: A Practical Guide
Connecting your email to HubSpot is crucial for leveraging its full suite of marketing, sales, and customer service tools. This integration allows you to track email interactions, log communications, automate tasks, and gain valuable insights into your customer relationships. This article provides a comprehensive, step-by-step guide to connecting your email to HubSpot, covering various connection methods and troubleshooting tips to ensure a smooth integration process.
Table of Contents
- Connecting Your Personal Inbox to HubSpot
- Connecting a Team Inbox to HubSpot
- Troubleshooting Common Email Connection Issues
- Utilizing the Connected Inbox Features
Connecting Your Personal Inbox to HubSpot

Connecting your personal inbox to HubSpot allows you to log email activity, track communications, and use sales tools directly within your inbox. HubSpot supports connections with Gmail, Outlook, Office 365, and any email provider that uses IMAP. This integration provides valuable context when communicating with leads and customers, enabling you to personalize interactions and improve response times.
Connecting a Gmail or Google Workspace Account
Connecting a Gmail or Google Workspace account to HubSpot is a straightforward process thanks to direct integration. Here’s how to do it:
- Navigate to Conversations > Inbox in your HubSpot account.
- Click Connect a channel in the upper right corner.
- Select Email, then choose Gmail.
- You will be redirected to a Google sign-in page. Select the Google account you want to connect.
- Grant HubSpot the necessary permissions to access your email. This includes reading, sending, deleting, and managing emails.
- Review the permissions and click Allow.
- Once authorized, you’ll be redirected back to HubSpot, where you can customize your inbox settings.
Example: After successfully authenticating your Gmail account, you should see a confirmation message in HubSpot, similar to: “Your Gmail account is now connected.” You can then adjust settings like your signature, default send-from address, and connection label.
Expert Tip: Always review the permissions you grant to third-party applications like HubSpot. While HubSpot requires these permissions to function properly, it’s good practice to understand what data is being accessed. You can revoke these permissions at any time from your Google account settings.
Connecting an Outlook or Office 365 Account
The process for connecting an Outlook or Office 365 account is similar to connecting a Gmail account:
- Go to Conversations > Inbox in your HubSpot account.
- Click Connect a channel and choose Email.
- Select Office 365.
- You’ll be redirected to a Microsoft sign-in page. Enter your Outlook or Office 365 credentials.
- Grant HubSpot the necessary permissions to access your email account.
- Review the permissions and click Accept.
- You will be redirected back to HubSpot, where you can customize your inbox settings.
Example: After successfully authenticating your Outlook account, you’ll be presented with options to configure your connection, such as selecting which shared mailbox (if any) to connect and setting up forwarding rules. A successful connection will display a confirmation message in HubSpot.
Connecting via IMAP
If you use an email provider other than Gmail or Outlook/Office 365, you can connect via IMAP (Internet Message Access Protocol). This method requires you to manually enter your IMAP server settings. Note that this connection method may not support all HubSpot features, particularly advanced integrations.
- Navigate to Conversations > Inbox in your HubSpot account.
- Click Connect a channel and choose Email.
- Select IMAP.
- Enter the required IMAP server settings:
- Email address: Your full email address (e.g., user@example.com).
- Password: Your email password.
- IMAP server: The IMAP server address (e.g., imap.example.com). You can usually find this information in your email provider’s documentation.
- IMAP port: The IMAP port number (typically 993 with SSL or 143 without SSL).
- SMTP server: The SMTP server address (e.g., smtp.example.com).
- SMTP port: The SMTP port number (typically 465 with SSL or 587 with TLS).
- Click Connect Email.
Example: Connecting an email account hosted by Zoho Mail. The required IMAP/SMTP settings are:
| Setting | Value |
|---|---|
| Email Address | user@example.com |
| Password | YourPassword |
| IMAP Server | imap.zoho.com |
| IMAP Port | 993 (SSL) |
| SMTP Server | smtp.zoho.com |
| SMTP Port | 465 (SSL) |
You would enter these values into the respective fields when selecting the IMAP option in HubSpot.
Caution: Ensure you have the correct IMAP and SMTP server settings from your email provider. Incorrect settings will prevent the connection from being established. Some providers also require you to enable IMAP access in your email account settings.
Connecting a Team Inbox to HubSpot

Connecting a team inbox to HubSpot allows multiple team members to access and manage email communications from a shared address. This is particularly useful for customer support, sales, and marketing teams that need to collaborate on email inquiries. Connecting a team inbox often involves connecting a shared mailbox within your email provider (e.g., a shared mailbox in Office 365) or integrating with a dedicated help desk software platform.
Connecting a Shared Mailbox (Office 365)
If your team uses a shared mailbox in Office 365, you can connect it to HubSpot for collaborative email management. This requires you to have the necessary permissions to access the shared mailbox within Office 365.
- Follow the same steps as connecting a personal Office 365 account, as outlined in the previous section.
- During the connection process, after authenticating with your Microsoft account, you’ll be presented with a list of mailboxes you have access to.
- Select the shared mailbox you want to connect.
- Configure the inbox settings, such as team member access and notification preferences.
Example: Your support team uses the shared mailbox “support@example.com”. When connecting your Office 365 account to HubSpot, you will see “support@example.com” listed as an available mailbox to connect. Selecting this mailbox will route all emails sent to and from this address through HubSpot.
Important: Ensure that all team members who need to access the shared inbox in HubSpot have the necessary user permissions within HubSpot itself. You may need to adjust their user roles and permissions to grant them access to the connected inbox.
Connecting Through Help Desk Integrations
HubSpot integrates with various help desk software platforms like Zendesk, Freshdesk, and Help Scout. These integrations often include seamless email connectivity, allowing you to manage support tickets and customer interactions directly within HubSpot.
Connecting through a help desk integration generally involves:
- Installing the relevant integration app from the HubSpot Marketplace.
- Configuring the integration settings, which typically involves providing API keys or authentication credentials for your help desk account.
- Mapping data between HubSpot and your help desk system (e.g., mapping HubSpot contacts to help desk users).
- Enabling email syncing within the integration settings.
Example: Connecting Zendesk to HubSpot. After installing the Zendesk integration from the HubSpot Marketplace, you’ll be prompted to enter your Zendesk subdomain and API token. Once authenticated, you can configure settings like ticket creation from HubSpot emails and syncing of contact properties between the two systems. The integration will then automatically pull email communication from Zendesk into HubSpot.
Note: The specific steps for connecting through a help desk integration will vary depending on the platform. Refer to the documentation for your specific help desk software and the corresponding HubSpot integration for detailed instructions.
Troubleshooting Common Email Connection Issues
Connecting your email to HubSpot doesn’t always go smoothly. Here’s a rundown of common issues and how to resolve them. Addressing these problems promptly ensures you can fully leverage HubSpot’s email integration features.
Authentication Failures
Authentication failures are a common problem, usually indicating incorrect username/password credentials or issues with your email provider’s security settings.
- Incorrect Password: Double-check your email password and ensure you’re entering it correctly. Try resetting your password through your email provider’s website if you suspect you’ve forgotten it.
- Two-Factor Authentication (2FA): If you have 2FA enabled on your email account, you may need to generate an app password specifically for HubSpot. This is particularly common with Gmail and Outlook.
- Gmail: Go to your Google Account Security settings and create an app password. Use this app password instead of your regular password when connecting to HubSpot.
- Outlook/Office 365: Similar to Gmail, you might need an app password if 2FA is enabled. The process depends on your specific Microsoft account configuration.
- Email Provider Security Settings: Some email providers may block third-party apps from accessing your account by default. Check your email account settings for options like “Less secure app access” (Gmail) and enable it if necessary (though this is generally not recommended for security reasons).
Example: Receiving an “Authentication failed” error when connecting a Gmail account with 2FA enabled. The solution is to generate an app password in your Google Account Security settings (security.google.com) and use that password in HubSpot instead of your regular Gmail password.
IMAP Connection Errors
If you’re connecting via IMAP, errors often stem from incorrect server settings or network connectivity issues.
- Incorrect Server Settings: Verify the IMAP and SMTP server addresses and port numbers with your email provider’s documentation. Common mistakes include typos or using outdated settings.
- SSL/TLS Issues: Ensure you’re using the correct security protocol (SSL/TLS) and port number for your IMAP and SMTP servers. Typically, port 993 with SSL for IMAP and port 465 with SSL or 587 with TLS for SMTP are used.
- Firewall or Network Restrictions: Your firewall or network may be blocking access to the IMAP or SMTP server. Check your firewall settings and ensure that ports 143, 993, 465, and 587 are open for outbound traffic.
- IMAP Disabled: Some email providers require you to explicitly enable IMAP access in your email account settings. Check your email settings to ensure IMAP is enabled.
Example: Getting an “IMAP server not found” error. This indicates that the IMAP server address you entered is incorrect. Consult your email provider’s documentation (e.g., search “Zoho Mail IMAP settings”) and update the server address accordingly.
# Example firewall rule (iptables) allowing outbound SMTP traffic on port 587
sudo iptables -A OUTPUT -p tcp --dport 587 -j ACCEPT
sudo service iptables save
This example shows how to allow outbound SMTP traffic on port 587 using `iptables`, a common firewall tool on Linux systems. Remember to save the changes to make them persistent.
Permission Denied Errors
These errors indicate that HubSpot doesn’t have the necessary permissions to access your email account. This can occur with both direct integrations (Gmail, Outlook) and IMAP connections.
- Revoked Permissions: You may have previously granted HubSpot permissions to access your email, but then revoked them. Reconnect your email account and carefully review the permissions being requested.
- Third-Party App Restrictions: Some email providers have strict policies regarding third-party app access. Review your email provider’s documentation for any specific requirements or restrictions.
- HubSpot User Permissions: Ensure that your HubSpot user account has the necessary permissions to access and manage connected inboxes. Your HubSpot administrator may need to adjust your user role and permissions.
Example: Experiencing “Permission denied” after updating your Google account security settings. To resolve this, disconnect and reconnect your Gmail account in HubSpot, carefully reviewing and accepting all permission requests during the authentication process.
Utilizing the Connected Inbox Features
Once your email is successfully connected to HubSpot, you can unlock a range of powerful features designed to streamline your communication, track engagement, and enhance your sales and marketing efforts. This section explores how to effectively utilize these features to maximize the benefits of your HubSpot email integration.
Email Tracking and Logging
Email tracking and logging are core functionalities of the HubSpot email integration. They allow you to monitor when recipients open your emails and click on links, providing valuable insights into their engagement. Logging automatically saves copies of your emails to the corresponding contact records in HubSpot, creating a comprehensive history of your interactions.
- Enabling Tracking and Logging: These features are typically enabled by default when you connect your email. However, you can verify the settings in your HubSpot Sales extension or in your HubSpot account settings under Integrations > Email Integrations.
- Understanding Email Notifications: When someone opens your tracked email or clicks a link, you’ll receive a real-time notification in HubSpot and through the HubSpot Sales extension in your inbox. These notifications provide instant feedback on your email effectiveness.
- Viewing Email Activity on Contact Records: Logged emails are automatically associated with the corresponding contact records in HubSpot. You can view the complete email history for each contact, providing valuable context for your interactions.
Example: Sending a sales email to a prospect through your connected inbox. HubSpot tracks when the prospect opens the email and clicks on a link to your product demo. You receive a notification in HubSpot, and the email is automatically logged to the prospect’s contact record. This information helps you prioritize your follow-up efforts.
Using Email Templates and Snippets
HubSpot allows you to create and use email templates and snippets to save time and ensure consistent messaging. Templates are pre-written emails that you can customize with contact-specific information, while snippets are reusable text blocks that you can insert into your emails.
- Creating and Organizing Templates: You can create and manage email templates in your HubSpot account under Conversations > Templates. Organize your templates into folders for easy access.
- Using Templates in Your Inbox: When composing an email through your connected inbox, you can access your templates through the HubSpot Sales extension. Select the desired template and customize it with the recipient’s details.
- Creating and Using Snippets: Similar to templates, you can create and manage snippets under Conversations > Snippets. Use snippets for frequently asked questions, product descriptions, or other common text blocks.
Example: Creating a template for responding to inbound sales inquiries. The template includes a personalized greeting, a brief overview of your services, and a call to action to schedule a meeting. Using this template saves you time and ensures a consistent message across all inbound inquiries.
Quote: “Email templates are a game-changer for sales productivity. By creating reusable templates for common scenarios, you can save valuable time and ensure a consistent, professional message.” – John Smith, Sales Enablement Expert.
Scheduling Meetings and Using Sales Tools
HubSpot’s meeting scheduling tool integrates directly with your connected email, allowing recipients to easily book meetings with you based on your availability. The Sales Tools further enhance your sales process by providing features like deal creation, task management, and contact enrichment.
- Creating and Sharing Meeting Links: Create personalized meeting links in your HubSpot account under Sales > Meetings. Share these links in your emails to allow recipients to book meetings with you directly.
- Integrating with Your Calendar: HubSpot integrates with your Google Calendar or Office 365 calendar, ensuring that your meeting availability is always up-to-date.
- Using Sales Tools in Your Inbox: The HubSpot Sales extension provides access to Sales Tools directly within your inbox. You can create deals, assign tasks, and enrich contact information without leaving your email window.
Example: Including a meeting link in your follow-up email to a lead. The lead clicks the link and books a meeting with you based on your available time slots. This eliminates the back-and-forth of traditional scheduling and streamlines the booking process.
sell Tags
Article Monster
Email marketing expert sharing insights about cold outreach, deliverability, and sales growth strategies.