How to create a self-watering system for plants?
Keeping your plants hydrated is essential for their growth and well-being. While regular watering can be time-consuming and easy to forget, a self-watering system can help ensure your plants receive the right amount of water consistently. Here’s how you can create a self-watering system for your plants:
Materials needed:
- Plastic container with lid
- String or wicking material
- Water reservoir (could be a second container or bottle)
- Drill (if needed)
Steps to create a self-watering system:
- Choose a suitable container: Select a plastic container that is large enough to hold your plant and has a lid to cover the water reservoir.
- Drill holes: If your container does not already have drainage holes, drill one or two holes near the bottom for excess water to escape.
- Insert the wicking material: Cut a piece of string or wicking material long enough to reach from the bottom of the container to the top of the soil. Insert one end into the drainage hole and let the other end sit on top of the soil.
- Prepare the water reservoir: Fill a separate container or bottle with water and place it next to the plant container. Make sure the reservoir is taller than the plant container to allow gravity to do its work.
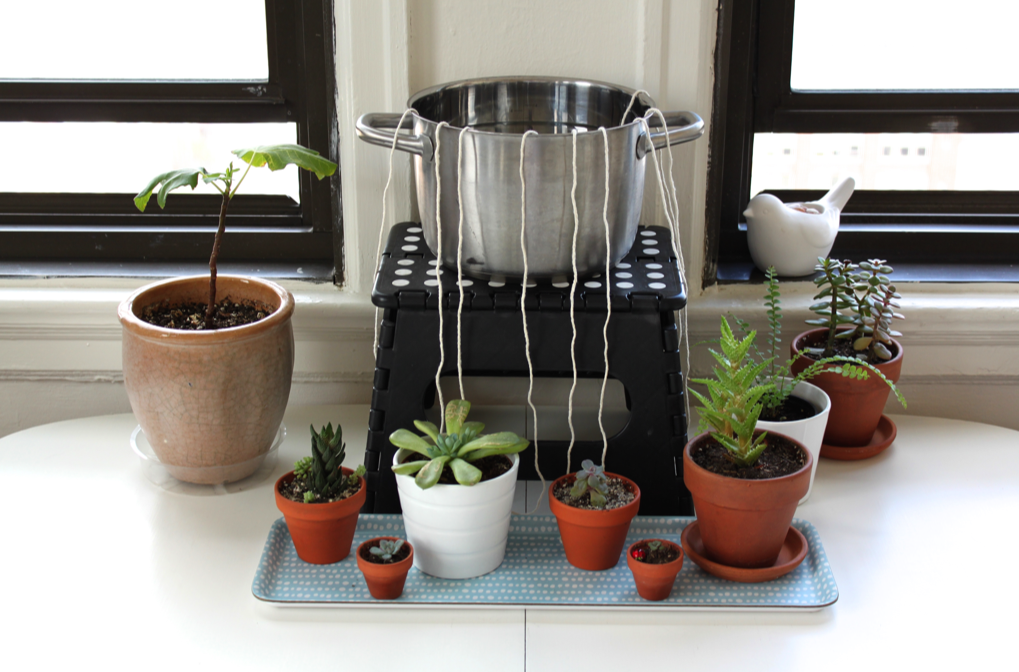
- Assemble the system: Place the plant container on top of the water reservoir, making sure the wicking material is in contact with the water. Secure the lid on top to create a closed environment.
- Monitor and refill: Check the water level in the reservoir regularly and top up as needed to keep the soil moist. The wicking material will draw water up to the plant roots, providing a constant water supply.
By following these simple steps, you can create a self-watering system for your plants that will help them thrive and flourish. Not only does it save you time and effort, but it also ensures that your plants stay healthy and hydrated, even when you’re not around to water them.