Composting is a great way to reduce waste and create nutrient-rich soil for your garden. While you can purchase a compost bin, making your own DIY compost bin can be a fun and rewarding project. In this article, we will walk you through the steps to create your own compost bin at home.
Materials Needed:
- 1 large plastic bin with a lid
- Drill
- 1/4 inch drill bit
- Shovel
- Green and brown compost materials (fruit and vegetable scraps, coffee grounds, paper, leaves, etc.)
- Water
- Time and patience
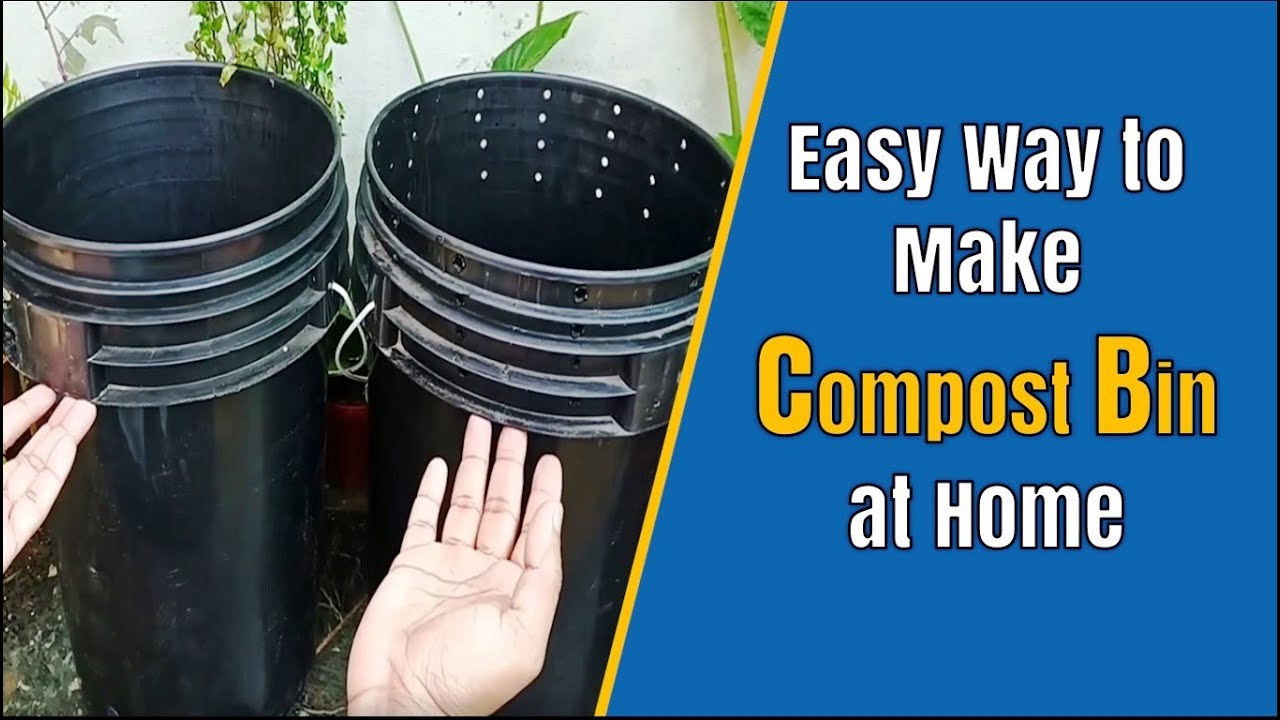
Step 1: Drill Holes in the Bin
Take your large plastic bin and use the drill to create small holes all around the sides and bottom of the bin. This will allow for proper air circulation and drainage within the compost bin.
Step 2: Layer Green and Brown Materials
Start by layering green (nitrogen-rich) and brown (carbon-rich) compost materials in the bin. Green materials include fruit and vegetable scraps, coffee grounds, and grass clippings. Brown materials include paper, leaves, and cardboard.
Step 3: Add Water and Mix
After adding a layer of green and brown materials, sprinkle some water over the top to keep the compost moist. Use the shovel to mix the materials together, ensuring that everything is evenly distributed.
Step 4: Turn the Compost Regularly
Every few days, use the shovel to turn the compost in the bin. This will help aerate the compost and speed up the decomposition process. Over time, the compost will break down into rich, dark soil.
Step 5: Harvest Your Compost
After a few weeks to a few months, depending on the conditions and materials used, your compost will be ready to use in your garden. Simply scoop out the finished compost and spread it over your garden beds.
By following these simple steps, you can create your own DIY compost bin and turn your food scraps and yard waste into nutrient-rich soil for your plants. Not only will you reduce waste, but you will also save money on buying soil amendments. Happy composting!