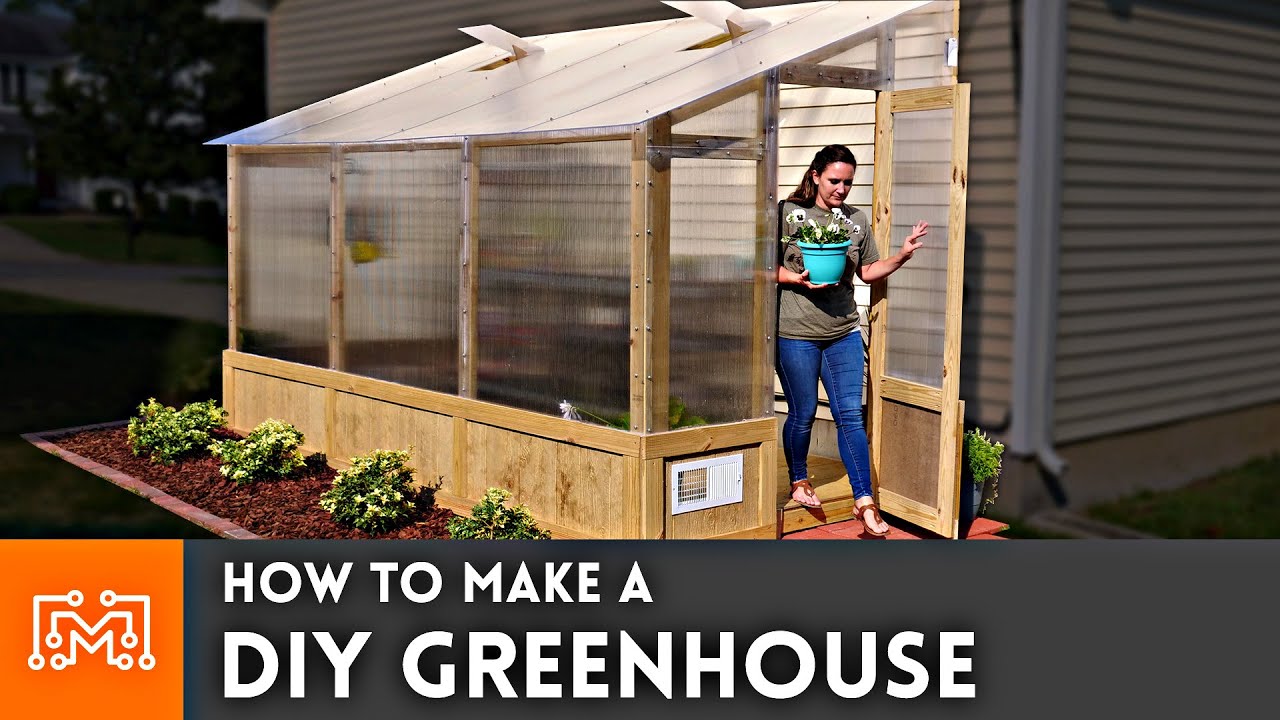
How to Make a DIY Greenhouse
Do you love gardening but find it difficult to grow plants during the winter months? A DIY greenhouse might be the perfect solution for you! Not only can a greenhouse extend your growing season, but it also provides a protected environment for your plants to thrive. In this article, we will show you how to create your own DIY greenhouse from scratch.
Step 1: Choose a Location
Before you start building your greenhouse, it is essential to choose the right location. Look for a spot in your yard that receives plenty of sunlight throughout the day. Make sure there are no trees or structures blocking the sunlight, as this can hinder the growth of your plants.
Additionally, consider the accessibility of the location. You will need easy access to water, electricity, and other supplies, so choose a spot that is convenient for you.
Step 2: Gather Materials
Now that you have chosen a location for your greenhouse, it’s time to gather the materials you will need. Here is a list of materials you may need:
- Wood or PVC piping
- Plastic sheeting or greenhouse panels
- Fasteners (screws, nails, etc.)
- Foundation materials (bricks, cinder blocks, etc.)
- Tools (hammer, saw, drill, etc.)
You can customize your DIY greenhouse based on your preferences and budget. There are many tutorials online that can guide you on how to build a greenhouse using different materials.
Step 3: Build the Frame
Start by building the frame of your greenhouse. If you are using wood, cut the pieces to the desired length and assemble them using screws or nails. If you are using PVC piping, connect the pieces using T-connectors or elbow joints.
Make sure the frame is sturdy and level before proceeding to the next step. The frame will serve as the foundation for the rest of the greenhouse structure.
Step 4: Cover the Frame
Once the frame is complete, it’s time to cover it with plastic sheeting or greenhouse panels. Secure the covering to the frame using fasteners to ensure it is windproof and waterproof.
You can also add insulation to the greenhouse to regulate the temperature and protect your plants from extreme weather conditions.
Step 5: Add Ventilation and Accessories
Finally, add ventilation to your greenhouse to ensure proper airflow for your plants. You can install vents or windows that can be opened and closed as needed.
Don’t forget to add accessories such as shelves, benches, and hanging baskets to maximize the space in your greenhouse. You can also install a drip irrigation system to ensure your plants are watered regularly.
Now that your DIY greenhouse is complete, you can start planting your favorite fruits, vegetables, and flowers! Enjoy watching your plants grow and thrive in their new environment.
Building a DIY greenhouse is a rewarding project that can help you take your gardening to the next level. With some time and effort, you can create a space where your plants can flourish year-round. Happy gardening!