How to Root Grapevine Cuttings?
Grapevines are beautiful and versatile plants that can be grown in a variety of climates. One popular method of propagation is to root grapevine cuttings. This is a cost-effective way to start new grapevines, as it allows you to create multiple plants from a single parent plant. In this article, we will discuss how to root grapevine cuttings successfully.
Step 1: Collecting Cuttings
The first step in rooting grapevine cuttings is to collect the cuttings themselves. You will want to take your cuttings in late winter or early spring when the vine is still dormant. Cuttings should be about 12 inches long and taken from the previous year’s growth. Make sure to choose healthy-looking cuttings with a diameter of about 1/4 inch.
Step 2: Preparing Cuttings
Once you have collected your grapevine cuttings, the next step is to prepare them for rooting. Using a clean, sharp pair of pruning shears, trim each cutting to about 6 inches in length. Make sure to make the cut at a 45-degree angle, just below a node. Remove any leaves from the bottom half of the cutting, leaving at least two or three at the top.
Step 3: Rooting Hormone
To improve the chances of successful rooting, you can dip the bottom end of the cutting in rooting hormone before planting. This hormone helps stimulate root growth and will increase the likelihood of your cutting taking root. Make sure to follow the instructions on the packaging carefully when using rooting hormone.
Step 4: Planting Cuttings
Before planting your grapevine cuttings, make sure to prepare the soil. Choose a well-draining location with plenty of sunlight. Dig a small hole about 6 inches deep and place the cutting in the hole, making sure the node is buried beneath the soil. Water the cutting thoroughly after planting to help settle the soil and encourage root growth.
Step 5: Care and Maintenance
Once your grapevine cuttings are planted, it is important to provide them with the proper care and maintenance. Keep the soil moist but not soggy, as too much water can cause the cutting to rot. You may also want to cover the cutting with a plastic bag to create a mini-greenhouse effect and increase humidity.
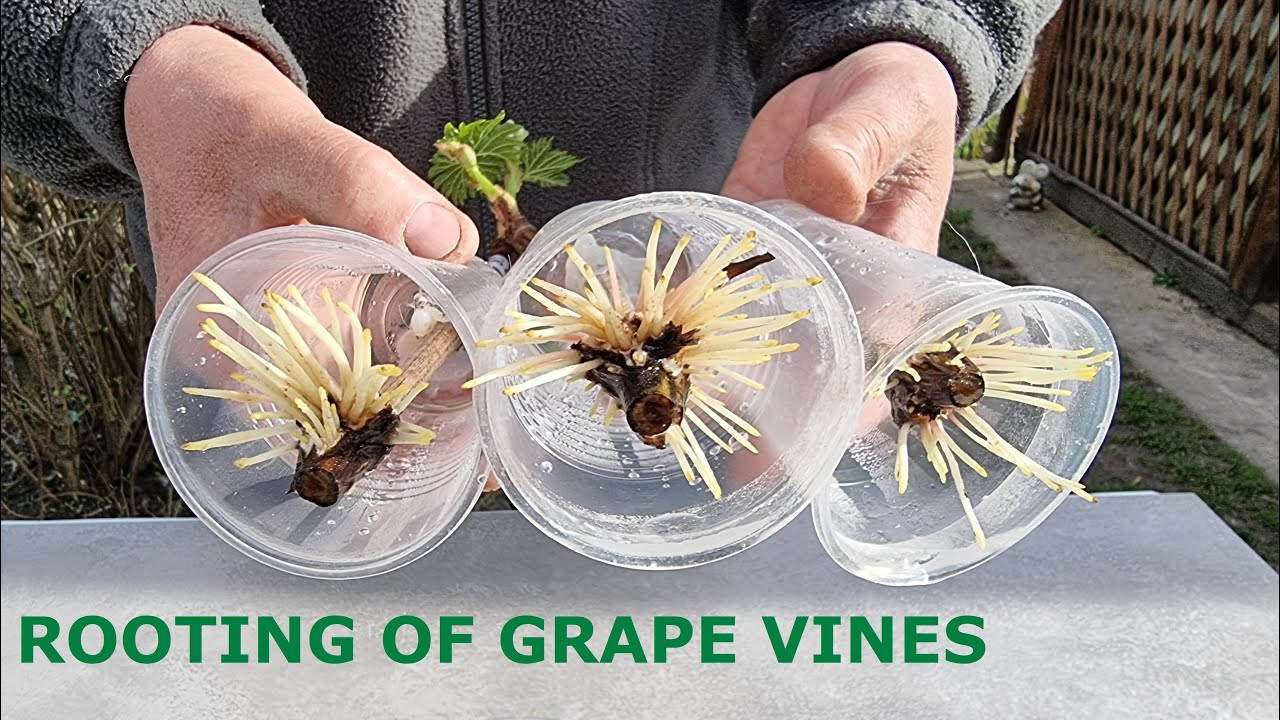
Step 6: Transplanting
After a few weeks, your grapevine cutting should start to develop roots. You can gently tug on the cutting to check for resistance, indicating that roots have formed. Once the cutting has established a healthy root system, it is ready to be transplanted into a larger container or into the ground. Make sure to choose a suitable location with enough space for the vine to grow and thrive.
Conclusion
Rooting grapevine cuttings is a rewarding and cost-effective way to propagate new grapevines. By following these steps and providing the proper care, you can successfully root grapevine cuttings and enjoy beautiful vines in your garden. Remember to be patient and attentive to your cuttings as they grow and develop roots. Happy gardening!