How to Root Mulberry Cuttings
If you’re a fan of mulberries and want to try your hand at propagating them through cuttings, you’re in luck! Rooting mulberry cuttings is a fun and rewarding way to expand your mulberry plants without having to spend money on new trees. In this article, we’ll guide you through the process of rooting mulberry cuttings successfully.
When to Take Cuttings
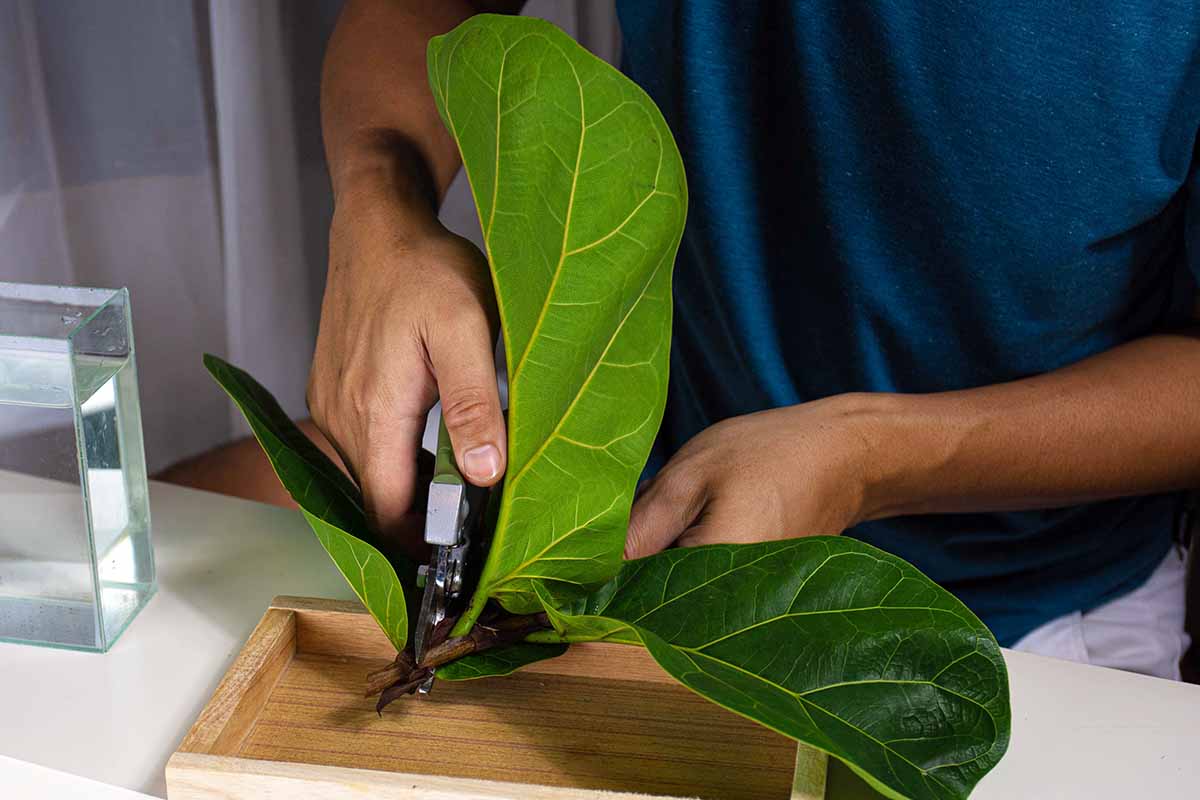
The best time to take mulberry cuttings is in the late winter or early spring when the trees are still dormant. This is when the trees are most likely to root successfully. Choose healthy branches that are about six to eight inches long and cut them at a 45-degree angle using sharp, sterilized pruning shears.
Preparing the Cuttings
Remove the leaves from the bottom half of the cutting to prevent excess moisture loss. Dip the cut end of the cutting in a rooting hormone powder to encourage root growth. Plant the cutting in a pot filled with well-draining soil, making sure to keep the soil moist but not waterlogged.
Caring for the Cuttings
Place the pot in a warm, bright location out of direct sunlight. Keep the soil consistently moist by misting it with water regularly. You can cover the pot with a plastic bag to create a mini greenhouse, which will help retain moisture and encourage root growth.
Transplanting the Rooted Cuttings
After about 6-8 weeks, check for root development by gently tugging on the cutting. If you feel resistance, it means roots have formed. Once the cuttings have developed a healthy root system, you can transplant them into larger pots or directly into the ground in a sunny location.
Tips for Success
- Choose healthy, disease-free branches for cuttings.
- Use a rooting hormone to increase the chances of successful rooting.
- Keep the soil consistently moist but not waterlogged.
- Provide warmth and bright indirect light for optimal growth.
With a bit of patience and care, you can enjoy a bountiful mulberry harvest from your rooted cuttings in no time. Happy gardening!